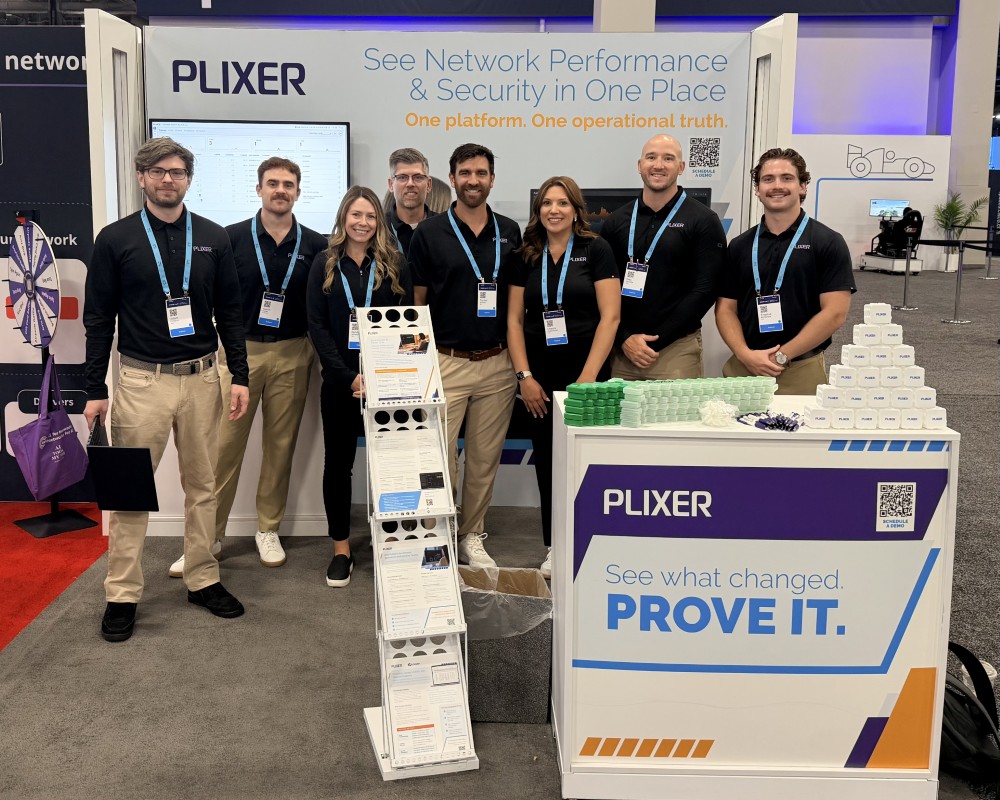
Blog :: Network Operations

Scrutinizer and Its RESTful API

jeff

I spend a large amount of time day-to-day working with customers to understand how they can best leverage their current NetFlow/IPFIX data to solve a variety of problems. What I’ve begun to realize is that there are many different use cases for leveraging metadata, and the format in which data can be most useful will vary as well. More and moreoften, the traditional graph and table format of displaying data may not be the preferred format. One way to overcome this is to  use a RESTful API, so today I’d like to talk about Scrutinizer’s ability to fully support RESTful API calls.

What is a RESTful API and when is it useful?

API stands for ‘application program interface,’ and RESTful API makes use of HTTP methodologies defined by RFC 2616. With the RESTful API, users can make use of GET to retrieve data, PUT to change the state of a resource (object, file or block), POST to create a similar resource and DELETE to remove it.

RESTful API can be very useful when managing systems or making large scale changes to systems, but in this blog I would like to focus more on GET requests.

Scrutinizer is a high-volume flow and metadata analysis platform, and with that, it’s very useful to have data easily retrievable, filterable, and organized/structured in an easy-to-read graph and table. With Scrutinizer’s UI, this is very easily accomplished, as you can see below:

Scrutinizer UI

On the flip side, there is also value in getting these data sets out of Scrutinizer’s UI for a variety of reasons. One simple reason may be to display in an open source graphing engine like Grafana. A colleague of mine wrote a great blog on this. Another use case could be to integrate Scrutinizer’s powerful data collection to a separate ticketing system. This could cut down training time for tier 1 support teams while still providing granular data for them to analyze. Another use case may be to pass the data through a custom algorithm that analyzes for specific trends or patterns. But in all of these use cases, it starts with a well-structured API call.

Making an API call into Scrutinizer

In this example, I’ll be using Python as my programming language and there are a few important packages that I’ll recommend:

  • ‘Requests,’ which is a Python HTTP library aimed at making HTTP requests simpler and easy to use
  • ‘json,’ which is a Python module for encoding and decoding JSON objects (serialization and deserialization)
  • (optional) ‘pandas,’ a Python module built on NumPy for creating DataFrames making the organization of data simpler.

Before going too deep into the code of the API call, it’s important to note that any report within Scrutinizer can be leveraged as an API call. Scrutinizer also makes this information readily available from the front end. When running reports in Scrutinizer, the ‘Filters / Details’ button uncovers all the juicy details for your API call.

Scrutinizer API call details

Here, you’ll find all the options for retrieving different data sets such as: report type, device filters, interface filters and directionality, time frame, and any additional allotted filters like hosts or applications.

Now let’s look under the hood of a simplified API call. There a few key pieces to it. First I store a couple variables in a separate file ‘settings.json’ so I can reuse this in other scripts. This will include reusable items like Scrutinizer’s IP and an authentication token:

{
            "api_key" : "XXXXXXXXXXXXXXXXXXX",
            "scrutinizer_ip" : "X.X.X.X"
}

Now over to our actual script making the API call:

#!/usr/bin/python

import requests
import requests.packages.urllib3
import json
import pandas as pd
import pprint

requests.packages.urllib3.disable_warnings()

with open('settings.json') as json_data_file:
        config = json.load(json_data_file)

hostname = config['scrutinizer_ip']
authToken = config['api_key']
url = "https://{}/fcgi/scrut_fcgi.fcgi".format(hostname)
verify = False


  • Lines 1-6 simply specify the path to the interpreter and import the required packages.
  • Line 8 disables the SSL warnings under the requests package (important for self-signed certs)
  • Lines 10-11 is where we read from our JSON file to use the server IP and authentication token later
  • Lines 14-17 is where we can define variables to be used later in the script

Now we’ll go ahead and create a function that will build our API call.

def make_call():
       rpt_json = {
                 "reportTypeLang":"conversations",
                 "reportDirections": {"selected": "inbound"},
                 "dataGranularity": {"selected": 1},
                 "times": {"dateRange": "LastTenMinutes"},
                 "filters": {"sdfDips_0": "in_GROUP_ALL"},
                 "rateTotal": {"available" : ["rate","total"], "selected": "rate"},
                 "dataFormat": {"selected": "raw"},
                 "bbp": {"selected" : "bytes"}
       }

       data_requested = {
                 "inbound" : {
                           "table" : {
                                    "query_limit" : {"offset" : 0, "max_num_rows" : 10}
                           }
                 }
       }

       params = {
                 "rm" : "report_api",
                 "action" : "get",
                 "rpt_json" : json.dumps(rpt_json),
                 "data_requested" : json.dumps(data_requested),
                 "authToken" : authToken
       }

       global response
       response = requests.get(url, params=params, verify=verify)


  • Line 19 is where we name our function and assign variables to receive
  • Lines 20-29 defines our report details with our report type (reportTypeLang), direction, time frame, and required filters (device/interface, or specific hosts/applications)
  • Lines 31-37 defines where data is being requested, as well as the number of rows returned
  • Lines 39-45 is where we define our parameters such as run mode and HTTP request method, as well as format our API call
  • Lines 47 & 48 we simply declare a global variable to store our response from the GET request

Now our variable ‘response’ will contain the response code as well as the returned JSON object. If we simply print “response” we’ll get the expected “200” response code.

But if we print ‘response.json()’ we’ll get the JSON object (for ease of reading I’ll leverage a separate python module ‘pprint,’ or pretty print, which will format our JSON object). The JSON object returned looks very similar to a dictionary in Python (or a hash in perl) and there are some important details that can be pulled if you know how to parse it. First, let’s look at the raw output:

{u'report': {u'exporter_details': {u'10.1.1.251': {u'exporter_hex': u'0A0101FB',
                                                   u'flow_count': 5362},
                                   u'10.30.15.43': {u'exporter_hex': u'0A1E0F2B',
                                                    u'flow_count': 886},
                                   u'10.60.1.10': {u'exporter_hex': u'0A3C010A',
                                                   u'flow_count': 20951},
                                   u'192.168.5.25': {u'exporter_hex': u'C0A80519',
                                                     u'flow_count': 212},

When it comes to parsing this data, the first thing I want to do is convert the JSON object into an object in I can work with in Python (we’ll use the json module for this, more specifically ‘json.dumps()’). Let’s break this output down though:

By accessing the ‘report’ object, I have details available to me about the following:

    • ‘exporter_details’ : data about the exporters queried
      • ‘request_id’ : a hash reference to the report request (very valuable in debugging)
      • ‘table’ : contains all the details about the report type, elements included, and the raw data
        • ‘inbound’ : in this case we’ll focus on inbound only, but a bidirectional report would include an ‘outbound’ object as well
          • ‘columns’ : the raw information element name
          • ‘footer’ : the element name and operation applied to each
          • ‘rows’ : where all of our flow data is found

With this in mind, in order to access the actual flow data we would want to iterate through the returned JSON by accessing the following keys:

response.json()[‘report’]['table']['inbound']['rows']

This will return a list of dictionaries (see below for a single row of data).

global response
response = requests.get(url, params=params, verify=verify)
for x in response.json([‘report’][‘table’][‘inbound’][‘rows’]):
            print(x)


Which returns the following:

[{u'title': u'Rank: 1', u'label': u'1', u'klasstd': u'rank1'}, {u'rawValue': u'10.10.75.5', u'title': u'10.10.75.5', u'label': u'10.10.75.5',
u'klassLabel': u'ipDns', u'dataJson': u'{"column":"sourceipaddress"}', u'klasstd': u'alignLeft'}, {u'rawValue': u'10.10.10.94', u'title':
u'10.10.10.94', u'label': u'10.10.10.94', u'klassLabel': u'ipDns', u'dataJson': u'{"column":"destinationipaddress"}', u'klasstd': u'alignLeft'},
{u'rawValue': None, u'title': u'Value undefined', u'label': u'NA', u'klassLabel': u'', u'dataJson': u'{"column":"rpt_man_peak"}', u'klasstd':
u'alignRight'}, {u'rawValue': None, u'title': u'Value undefined', u'label': u'NA', u'klassLabel': u'', u'dataJson':
u'{"column":"rpt_man_95th"}', u'klasstd': u'alignRight'}, {u'rawValue': u'5873664', u'title': 5873664, u'label': 9789.44, u'klassLabel': u'',
u'dataJson': u'{"column":"sum_packetdeltacount"}', u'klasstd': u'alignRight'}, {u'rawValue': None, u'title': u'14.31 %', u'label': u'14.31 %',
u'klassLabel': u'', u'dataJson': u'{"column":"percenttotal"}', u'klasstd': u'alignRight'}, {u'rawValue': u'7602874112', u'title': 7602874112,
u'label': 12671456.8533333, u'klassLabel': u'', u'dataJson': u'{"column":"sum_octetdeltacount"}', u'klasstd': u'alignRight'}, {u'rawValue':
u'1557767520', u'title': u'1557767520', u'label': u'1557767520', u'klassLabel': u'', u'dataJson': u'{"column":"first_flow_epoch"}', u'klasstd':
u'alignLeft'}, {u'rawValue': u'1557767940', u'title': u'1557767940', u'label': u'1557767940', u'klassLabel': u'', u'dataJson':
u'{"column":"last_flow_epoch"}', u'klasstd': u'alignLeft'}]

You’ll notice that each row of data is contained in a list, and each information element is contained inside a dictionary. When referencing specific indices within the list (unique information elements), the way it’s displayed is determined by the key being referenced. For example, looking at the first index of the list returned back (x[0]) would provide:

{u'title': u'Rank: 1', u'label': u'1', u'klasstd': u'rank1'}

If I wanted to display the ranking value as a single integer (‘1’), I could print x[0][‘label’]. Or I could print x[0][‘title’], which would return the value ‘Rank 1.’

From here, how we choose the data is purely preference. I’ve taken a variety of approaches depending on the case, everything from manually formatting the data and writing it to a CSV:

for x in report.obj([‘report’][‘table’][‘inbound’][‘rows’]):
            Z = x[1][‘lable’] + “,” x[2][‘lable’] + “,” x[3][‘lable’] + “,” x[6][‘title’] + “,” x[6][‘lable’] + “,” x[8][‘title’] + “,” x[8][‘lable’] + “\n”
            results.append(z)

with open(‘data.csv’, ‘w’) as outfile:
            for x in results:
                        outfile.write(x)

 
But in my experience, using Pandas to create a DataFrame is a much cleaner approach. As I said before, Pandas is a very powerful python module that can help organize data and is also much more flexible than statically assigning variables into a CSV. The below code is flexible because it creates a DataFrame that includes the raw element name as the column header. This will come in handy as the report type changes, and the index value for specific elements will change as well:

def formatData(response):
      data = pd.read_json(json.dumps(response.json()))['report']['table']['inbound']['rows']
      df1 = pd.DataFrame({
                                      [json.loads(x[1]['dataJson'])['column'] for x in data][0] : [x[1]['title'] for x in data],
                                      [json.loads(x[2]['dataJson'])['column'] for x in data][0] : [x[2]['title'] for x in data],
                                      [json.loads(x[3]['dataJson'])['column'] for x in data][0] : [x[3]['title'] for x in data],
                                      [json.loads(x[4]['dataJson'])['column'] for x in data][0] : [x[4]['title'] for x in data],
                                      [json.loads(x[5]['dataJson'])['column'] for x in data][0] : [x[5]['title'] for x in data],
                                      [json.loads(x[6]['dataJson'])['column'] for x in data][0] : [x[6]['title'] for x in data],
                                      [json.loads(x[7]['dataJson'])['column'] for x in data][0] : [x[7]['title'] for x in data],
                                      [json.loads(x[8]['dataJson'])['column'] for x in data][0] : [x[8]['title'] for x in data],
                                      [json.loads(x[9]['dataJson'])['column'] for x in data][0] : [time.strftime("%a, %d %b %Y %H:%M:%S %Z", time.localtime(int(x[9]['title']))) for x in data],
                                      [json.loads(x[10]['dataJson'])['column'] for x in data][0] : [time.strftime("%a, %d %b %Y %H:%M:%S %Z", time.localtime(int(x[10]['title']))) for x in data]
                                      }, index=[x[0]['label'] for x in data])
      df1 = df1[[
                      [json.loads(x[1]['dataJson'])['column'] for x in data][0],
                      [json.loads(x[2]['dataJson'])['column'] for x in data][0],
                      [json.loads(x[3]['dataJson'])['column'] for x in data][0],
                      [json.loads(x[4]['dataJson'])['column'] for x in data][0],
                      [json.loads(x[5]['dataJson'])['column'] for x in data][0],
                      [json.loads(x[6]['dataJson'])['column'] for x in data][0],
                      [json.loads(x[7]['dataJson'])['column'] for x in data][0],
                      [json.loads(x[8]['dataJson'])['column'] for x in data][0],
                      [json.loads(x[9]['dataJson'])['column'] for x in data][0],
                      [json.loads(x[10]['dataJson'])['column'] for x in data][0]
                      ]]
      print(df1)

 
The following dataframe can easily be written to a csv, but for simplicity’s sake, this is what the DataFrame looks like when output to the terminal:

For more information about how to leverage Scrutinizer’s API, don’t hesitate to contact us or reference Scrutinizer’s doc page! Also, for anyone who would like to get their hands on Scrutinizer, a free and fully supported 30 evaluation can be found here.