Lately I’ve spoken to a few people in the field that are using Arista switches to get visibility into their networks using sFlow and thought I would write about Arista sFlow configuration. Arista switches offer a single sFlow agent that samples ingress traffic from all Ethernet as well as port channel interfaces. At Plixer we see more and more companies who are looking to utilize flow collection to identify bandwidth issues and network security risks. The reason is they want to have insight into what type of traffic is traversing the network, as well as the conversations between to endpoints on the network. Recently I worked with someone who was looking to get this visibility with their Arista 7150 sFlow Switch. So let’s look at how we would implement sFlow.
To turn sFlow on an Arista switch we need to configure:
- The sFlow collector address
- The sFlow source address
- A polling interval
- A sampling rate
Configuring the sFlow collector address
To get flows to our sFlow collector we will use the sflow destination command. You will want to put the IP of your sFlow/NetFlow collector or incident response system as well as the port to send flows over. If you do not specify a port, it will use the default sFlow port 6343.
switch(config)#sflow destination 10.56.22.4
Configuring the sFlow source address
We want to specify what the source IP of the switch that the flows are going to come from. In the second example below, we are electing a specific interface, in this case, a management interface appropriately named Management1.
switch(config)#sflow source 10.1.1.21
or
switch(config)# sflow source-interface Management1
Configuring a polling interval
When we configure the polling interval, essentially we are indicating what specific interval we want to send counter data to our collector. According to the Arista documentation I found online, the default is 2 seconds.
switch(config)#sflow polling-interval 5
Configuring a sample rate
The sample rate is exactly that, a rate of which we are sampling the packets on the sFlow switch. This is an optional setting and you can choose a rate that makes sense for your environment. The default value is 16384.
switch(config)#sflow polling-interval 10
Lastly we need to enter the sflow run command. You can enable sFlow globally on the switch or by sampling individual interfaces so you can use sflow enable. This gives you some flexibility with how you can monitor your interfaces.
Below are all the commands we ran. You can check your configuration afterword with the show sflow command.
switch(config)#sflow destination 10.56.22.4
switch(config)#sflow source 10.1.1.21
switch(config)#sflow polling-interval 5
switch(config)#sflow polling-interval 10
switch(config)#sflow run
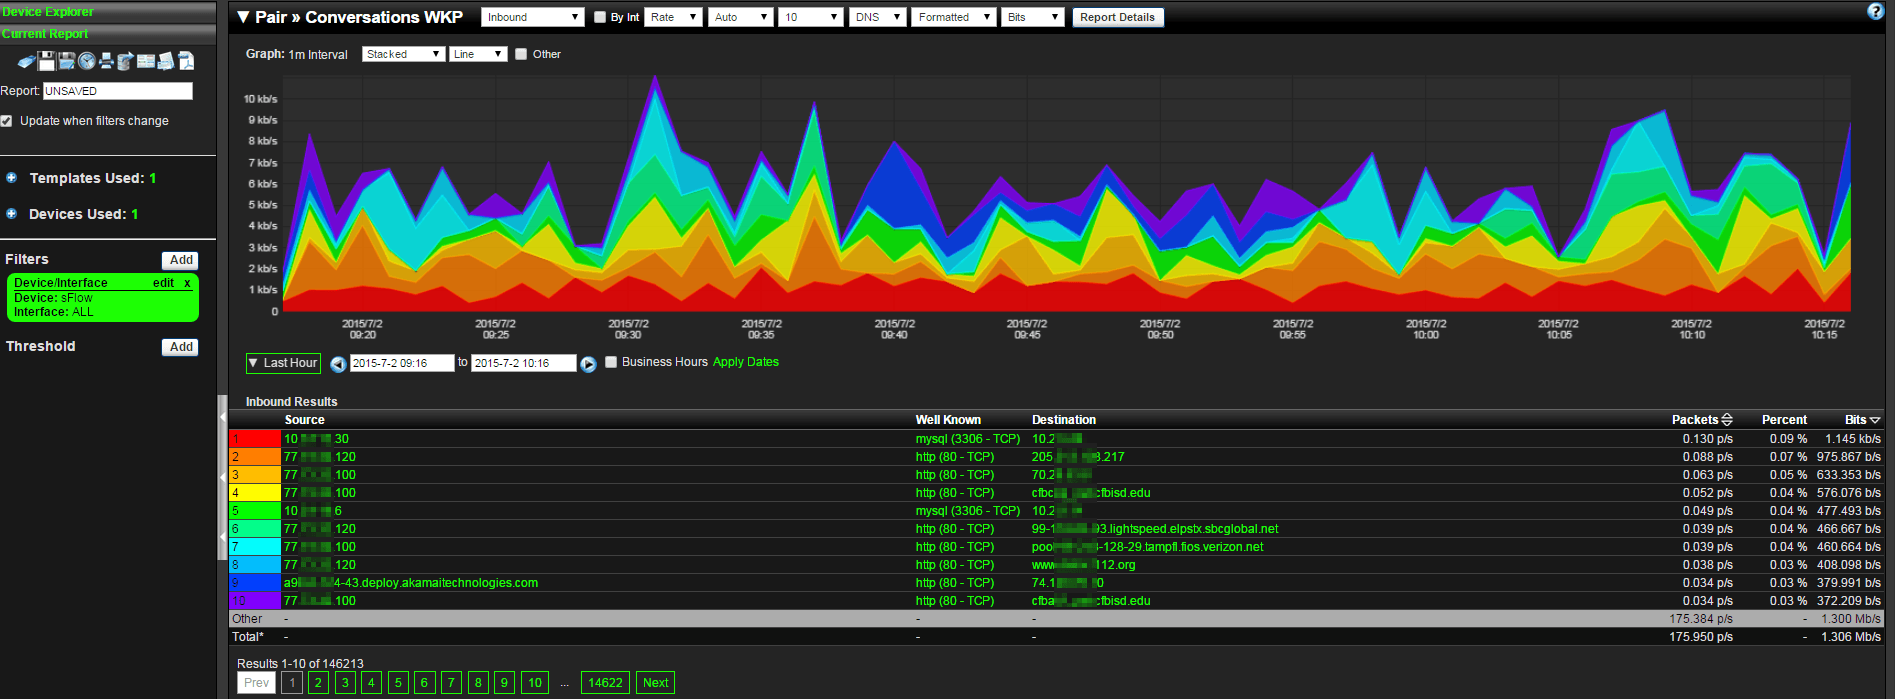
Now that we have our Arista 7150 configured we can start looking at the flows in our NetFlow/sFlow collector. We can start adding thresholds and creating reports to add to network security and provide insight into the network traffic passing through the switch. If you need some assistance with your configuration or how to view the data from your sFlow switch, give us a call at Plixer.