
Single sign-on (SSO) is a way to secure users while reducing the number of passwords they need to remember. SSO has been a highly requested feature and will be included in v18.16 of Scrutinizer. Our development team has put a lot of work into making the experience as smooth as possible for the user. Best of all, it works with dual-factor authentication!
Azure AD configuration
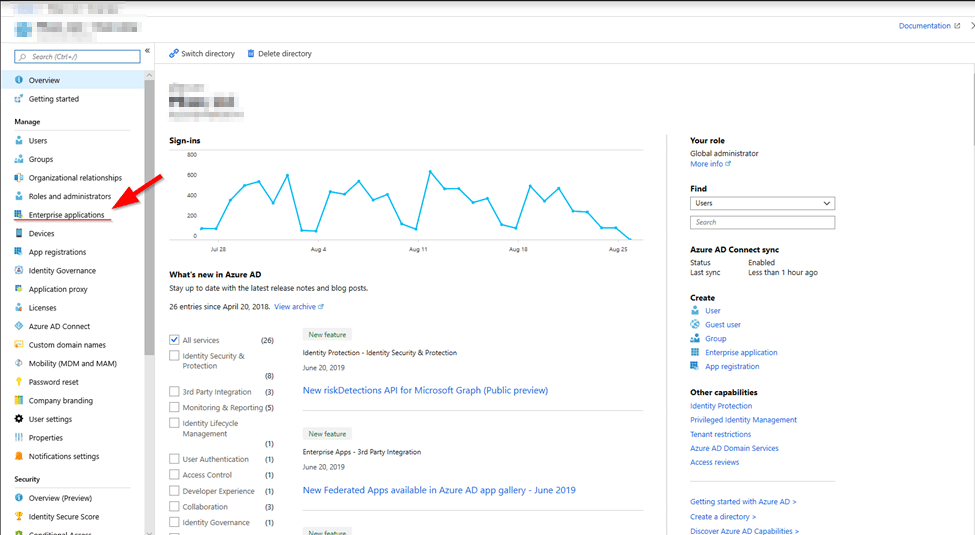
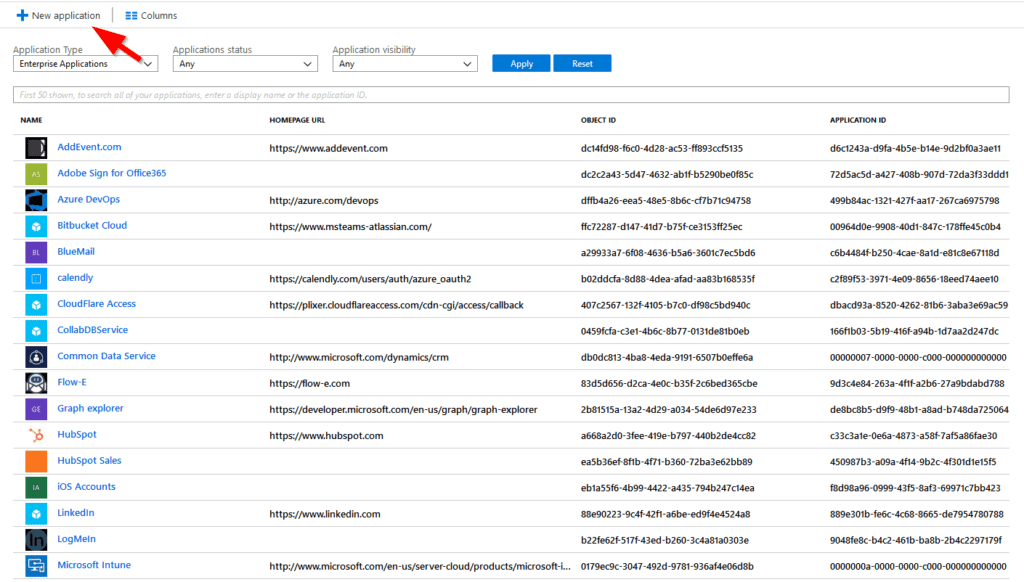
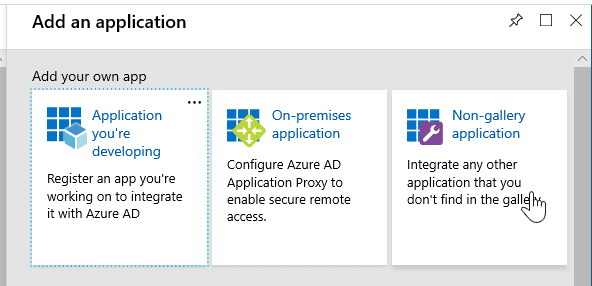
To start, we will need to make an enterprise application in Azure AD. Add a non-gallery application.
Select “Enterprise Application,” then “ New Application.” From here, select “Single Sign-On” and change the selection from “disabled” to “SAML.”
Basic SAML configuration
Identifier (Entity ID): https://<scrutinizer_server>/
Reply URL: https://<scrutinizer_server>/fcgi/scrut_fcgi.fcgi?rm=usergroups&action=sso_response
Sign-on URL: https://<scrutinizer_server>/
SAML Signing Certificate
Copy the App Federation Metadata URL value (to be input into Scrutinizer later) to a notepad.
Download the Certificate (Base64) file, to be copied to the Scrutinizer server later. This blog will assume the filename is “azure.cert.”
Set up your-application-name
Copy the Login URL value, to be input into Scrutinizer later.
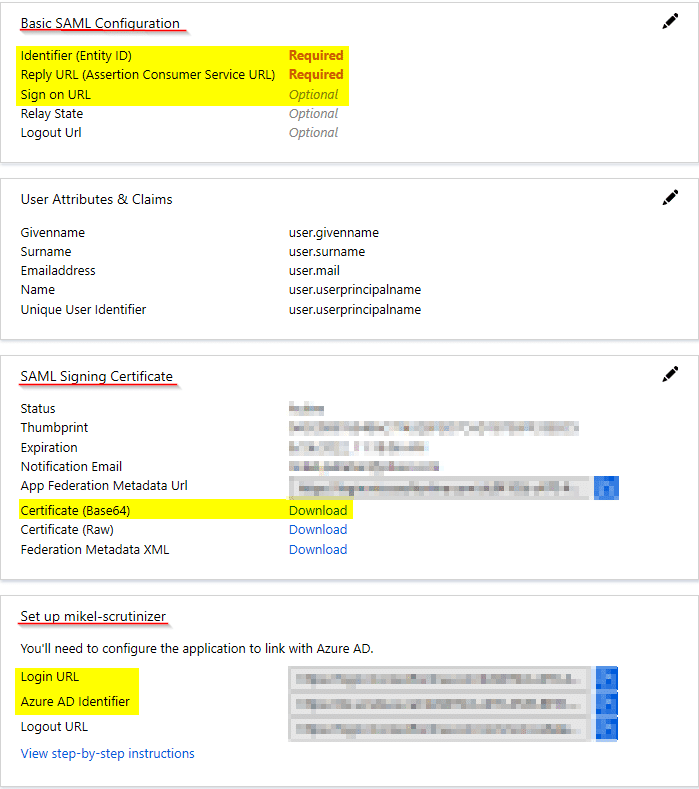
Copy the Azure AD Identifier value to a notepad so that it can be input into Scrutinizer later.
Scrutinizer single-sign on configuration
The first thing we need to do is take the certificate we saved and move it to Scrutinizer.
Using WinSCP or your flavor of tool, move the file azure.cert to /home/Plixer/scrutinizer/.
Once this is done, we can move to Scrutinizer’s WebUI.
Navigate to Admin>Security>Single Sign-On.
Select “Add Server.”
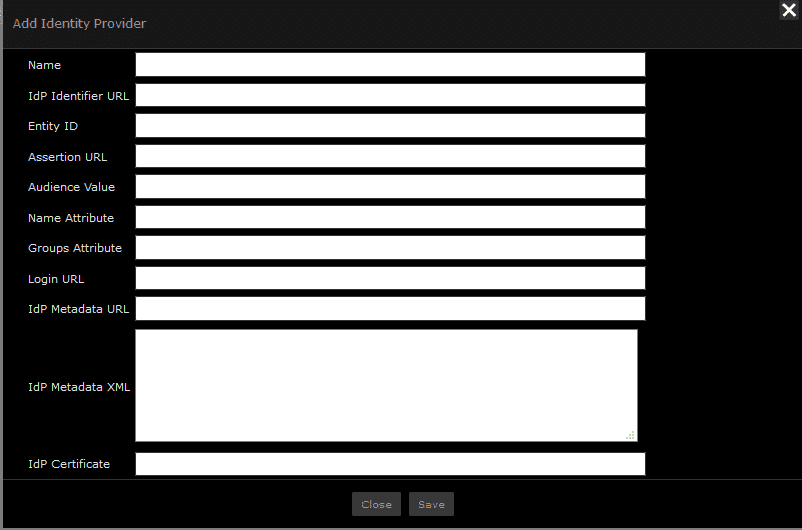
Name: Enter any unique identifier you prefer (e.g. “Azure ADFS”).
IdP Identifier URL: Enter the “Azure AD Identifier” URL you previously copied.
Entity ID: https://<scrutinizer_server>/
Assertion URL: https://<scrutinizer_server>/fcgi/scrut_fcgi.fcgi?rm=usergroups&action=sso_response.
Audience Value: https://<scrutinizer_server>/.
Name Attribute: This form option will be simplified for the final release. To support the correct name value for Azure in the current build, you should manually enter: http://schemas.xmlsoap.org/ws/2005/05/identity/claims/name.
Login URL: Enter the Login URL you previously copied.
IdP Metadata URL: Enter the App Federation Metadata URL link you previously copied.
IdP Metadata XML: Leave this blank.
IdP Certificate: Enter /home/plixer/scrutinizer/azure.cert.
After you have checked everything, select “Save.” To test that this is functioning, log out of Scrutinizer and go to Scrutinizer’s URL.
Note: This will create a new user. There will be your local user, plus the SSO user. You will need to assign this new user to a group.
If you wish to log in to Scrutinizer without SSO, you can go to: http://<Scrutinizer_address>/login.
This new feature will reduce the number of passwords users need to know, along with speeding up the sign-in process and remaining secure. If you had any trouble with this integration, please reach out to us at support. If SSO is not an option, you can still secure your Scrutinizer deployment by following my colleague Joanna’s blog on LDAP integration.
Related

5 ways of verifying security risks and avoiding false positives
I think I can safely assume that everyone knows the cautionary tale of the boy who cried wolf. If you don’t, the moral is